The Google API Distance Matrix is a workhorse. It’s the engine quietly running in the background of countless logistics, delivery, and ride-sharing apps, helping them make sense of complex routing problems almost instantly.
Taming Complexity with the Google Distance Matrix API
At its core, the API tackles a tricky question: "What's the travel time and distance from a whole bunch of starting points to a whole bunch of destinations?" Instead of asking the API for directions one by one—a slow and inefficient process—you can bundle them into a single, smart request.
Think about a food delivery app. An order comes in, and the system needs to find the best driver to dispatch. The Distance Matrix API can instantly calculate the travel time from every available driver (the origins) to the restaurant (the destination). No more guesswork.
Or imagine a logistics company planning its daily routes. They can feed the API a list of their warehouses and all of today's customer delivery addresses. The API returns a full matrix of possibilities, giving them the data needed to create the most efficient schedules. It goes way beyond simple A-to-B directions.
What It Does Best
The real magic of this API is its ability to handle "many-to-many" calculations. Let's say you have two warehouses (your origins) and ten retail stores to resupply (your destinations). In one go, the API returns a neat grid containing 20 unique results—the travel time and distance for every possible warehouse-to-store pairing.
This opens the door to all sorts of practical applications:
- Ride-Sharing: Finding the closest driver to a passenger's pickup location.
- Field Services: Mapping out the most efficient daily schedule for a technician with a long list of service calls.
- E-commerce Logistics: Giving customers accurate delivery ETAs by checking routes from multiple= distribution centers.
- Travel Planning: Comparing travel times between several points of interest, whether you're driving, walking, or cycling.
This visualization from Google perfectly illustrates how it works, calculating the route from each origin to every single destination.

It’s this matrix output that delivers so much value. Your application can quickly compare all the options without spamming Google’s servers with tons of individual requests.
Core Capabilities and Limits
The Distance Matrix API, which is part of the broader Google Maps Platform, is built for scale. You can include up to 25 origins or 25 destinations in a single API call. That means you can get up to 625 individual route calculations back at once, which is a massive amount of data for building out complex routing logic.
This API isn't just about distance; it's about operational intelligence. By providing a comprehensive matrix of travel data, it empowers applications to make smarter, faster, and more cost-effective routing decisions.
Getting a handle on how this API works is a lot like understanding communication protocols in other areas of tech. If you're curious about how different systems are designed to talk to each other, you might find our guide on https://findmcpservers.com/blog/what-is-model-context-protocol interesting.
Now that we've covered the what and why, let's dive into the how. In the next sections, we'll walk through the practical steps of setting up and using this powerful tool.
Getting Your Project and API Key Ready
Before you can calculate a single route, you have to jump through a few hoops in the Google Cloud Console. You’ll need to set up a project and generate a secure API key. This is your entry ticket to the Google API Distance Matrix.
Think of it as laying the foundation for a house—getting it right from the start saves you from massive headaches down the road.
Creating Your Cloud Project
First things first, you need a project. A project is basically a container for all your API settings, credentials, and billing info. If you’re juggling multiple= applications, I always recommend creating a separate project for each one. This keeps everything organized and helps you track usage and costs accurately, preventing one app from accidentally blowing your entire budget.
Head into the Google Cloud Console and create a new project. Give it a name that makes sense, like "Logistics Route Planner" or "Delivery ETA Service"—something you’ll recognize in six months. Once the project is live, your next move is to link a billing account.
Google requires a billing account for any project using its Maps Platform APIs, even if you’re planning to stay within their pretty generous free tier. This is a non-negotiable step. Don't worry, setting up billing doesn’t mean you'll get charged right away; it just authorizes Google to bill you if your usage ever goes beyond the free monthly credits.
To avoid any nasty surprises, I always set up budget alerts immediately. You can configure an alert to ping you when your spending hits 50% or 90% of a specific amount. It’s a simple action that gives you a crucial safety net.
Enabling the API and Generating Your Key
With your project and billing all sorted, it's time to switch on the API. Just use the search bar in the console's API Library to find the "Distance Matrix API" and click "Enable." This officially gives your project permission to start making requests.
This infographic breaks down the core setup process, from creating the project to getting your key.
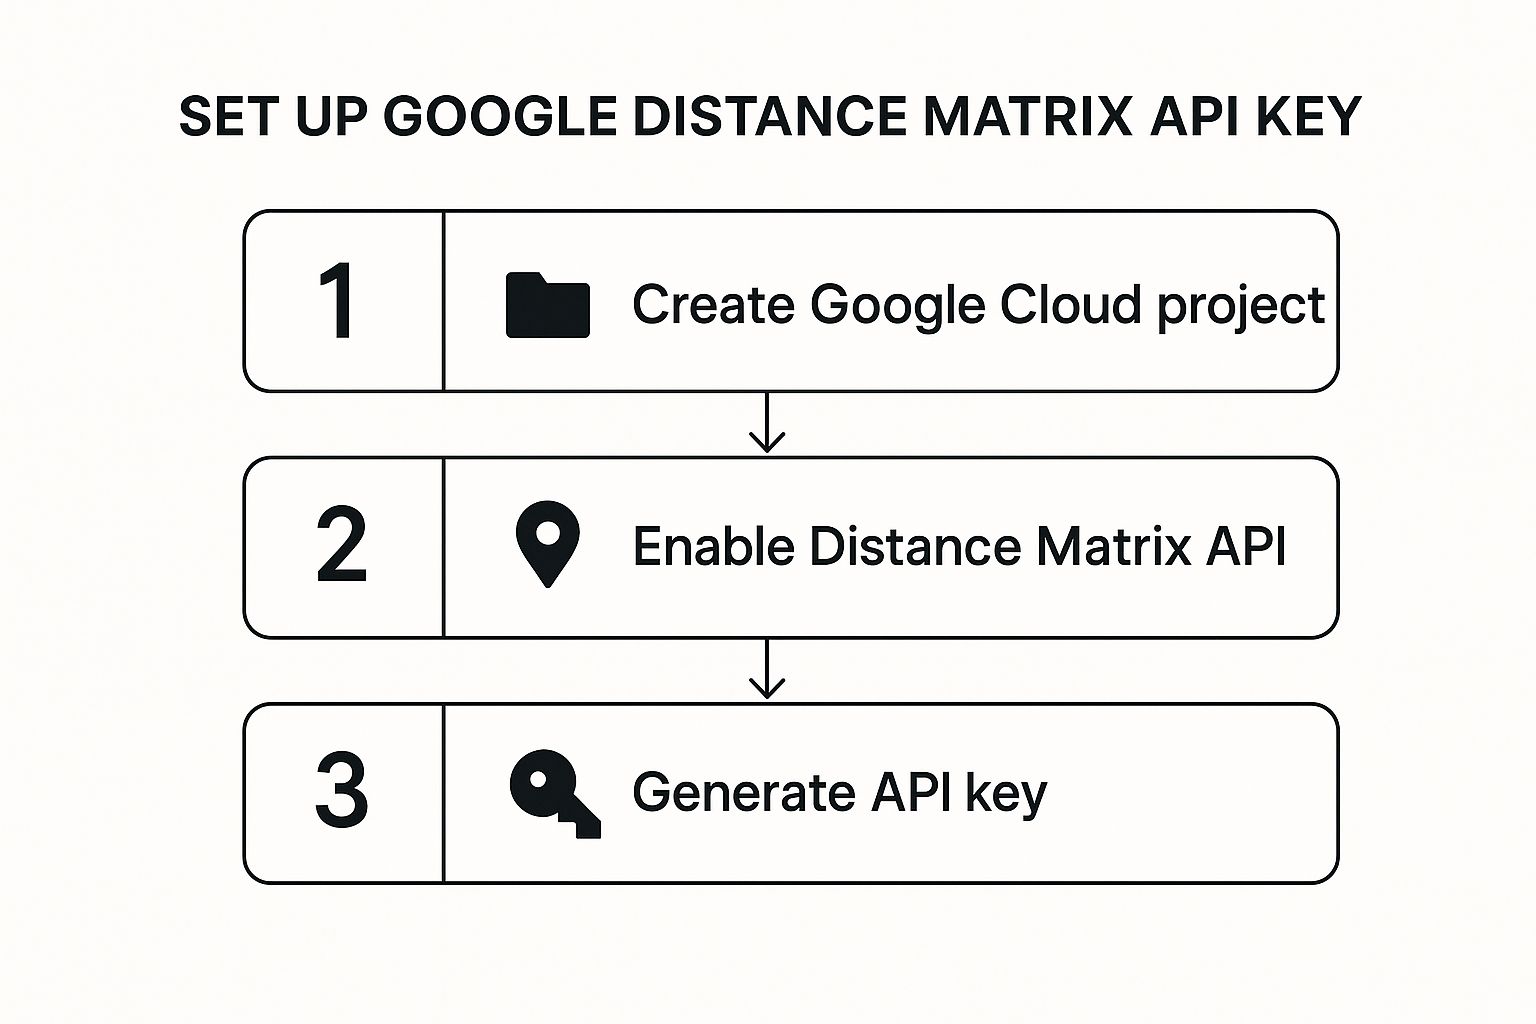
The path looks straightforward, but that third step—generating and securing your API key—is absolutely critical for protecting your account.
Now, pop over to the "Credentials" page to generate your API key. This long string of characters is the secret password your application uses to authenticate its requests. Treat it like gold. Never, ever expose it in client-side code or commit it to a public GitHub repository.
Securing your API key isn't just a good idea; it's an essential security measure. A leaky, unrestricted key can be abused by anyone, leading to massive, unexpected bills and a huge service disruption for you.
Securing Your API Key with Restrictions
An unrestricted API key is a magnet for trouble. To lock it down properly, you need to apply restrictions. For a backend service like one using the Distance Matrix API, a couple of methods are most effective:
- IP Address Restriction: This is my go-to for server-side applications. You can create a whitelist of your server's IP addresses that are allowed to use the key. For example, if your application runs on a server with the IP address
203.0.113.5, you would add that specific IP to the key's restrictions. Any request from an IP that isn't on the list gets an immediate rejection. Simple and effective. - API Restriction: You should also lock the key down to only work with the APIs you’ve enabled. In this case, you'd select the "Distance Matrix API" from the list. This stops someone who gets your key from using it on other, much more expensive, Google Cloud services.
Combine these two restrictions, and you've built a solid defense. Your key can only be used from your servers and only for the exact service you need. This simple configuration is your best line of defense against API abuse.
How to Build Your First API Request

Alright, you've got your API key. Now for the fun part: actually talking to the Google Distance Matrix API. Think of building a request like giving very specific instructions to a GPS. The clearer and more detailed your instructions, the more accurate the results will be.
Every single request you send is essentially a URL loaded with parameters. These parameters tell Google everything it needs to know—your starting points, your destinations, the mode of travel, and of course, your API key to prove you have access.
Understanding the Core Request Parameters
At a bare minimum, a request needs three things: origins, destinations, and your key. The origins are your starting points, and the destinations are where you're headed. You can feed these to the API as plain-text addresses, precise latitude/longitude coordinates, or even Google Place IDs.
A simple request might just ask for the travel time between two addresses. But that's just scratching the surface.
The real magic of the Distance Matrix API is its ability to process multiple= origins and destinations in a single go. This "many-to-many" calculation is what makes it so powerful for logistics and planning, setting it apart from a basic point-to-point directions tool.
Getting a handle on the core parameters is the first step. You'll use these in pretty much every request you ever make.
Here's a quick breakdown of the most common parameters you'll be working with.
Essential Google Distance Matrix API Request Parameters
| Parameter | Description | Example Value |
|---|---|---|
origins | The starting point(s) for the calculation. Can be a single location or multiple= locations separated by a pipe (` | `). |
destinations | The ending point(s) for the calculation. Also accepts single or multiple= pipe-separated locations. | Los Angeles, CA or place_id:ChIJSzBu_t_w44kR5-mQ9-c_d_M |
key | Your unique API key obtained from the Google Cloud Console. | YOUR_API_KEY |
mode | The method of transportation. Common options are driving, walking, bicycling, or transit. Defaults to driving. | walking |
Once you’re comfortable with these, you can start building some seriously useful queries.
Crafting a Real-World Logistics Request
Let’s put this into practice with a common logistics scenario. Imagine you run a warehouse and need to calculate the driving time to three different customer locations for today's delivery route.
Instead of making three separate API calls, you can bundle it all into one efficient request. You’ll specify one origin (your warehouse) and three destinations (your customers), and you’ll set the travel mode to driving.
Here’s what the request URL would look like:
https://maps.googleapis.com/maps/api/distancematrix/json?origins=1600+Amphitheatre+Parkway,+Mountain+View,+CA&destinations=San+Francisco,+CA|San+Jose,+CA|Oakland,+CA&mode=driving&key=YOUR_API_KEY Let’s break that down:
origins: We’ve plugged in our warehouse address.destinations: We've listed three cities, using the|character to separate them.mode: Set todriving.key: This is where your personal API key goes.
This single call returns a clean matrix of results with the travel time and distance for all three routes. Much smarter than hitting the API three times.
Adding Traffic and Time-Specific Parameters
The last example is good, but real-world logistics isn't about ideal conditions—it's about traffic. This is where the departure_time parameter becomes your best friend. It lets you get much more realistic travel estimates.
By setting a departure_time, you’re telling the API to factor in predictive traffic models based on historical data. If you know a truck is leaving at 8:00 AM on a Tuesday, you can get an ETA that actually accounts for morning rush hour.
Let's update our logistics request to be time-aware. Here's a quick snippet using Axios in a Node.js environment.
// Example JavaScript (Node.js) request using axios

const axios = require('axios');

async function getDeliveryTimes() {
  const apiKey = 'YOUR_API_KEY';
  const warehouse = '1600 Amphitheatre Parkway, Mountain View, CA';
  const customers = 'San Francisco, CA|San Jose, CA|Oakland, CA';

  // Set departure time to next Tuesday at 8 AM
  const departureTimestamp = Math.floor(new Date('2024-10-29T08:00:00-07:00').getTime() / 1000);

  const url = `https://maps.googleapis.com/maps/api/distancematrix/json`;

  try {
    const response = await axios.get(url, {
      params: {
        origins: warehouse,
        destinations: customers,
        departure_time: departureTimestamp,
        key: apiKey
      }
    });

    console.log(response.data);
  } catch (error) {
    console.error('Error fetching distance matrix:', error.response.data);
  }
}

getDeliveryTimes();
In this code, we create a future timestamp and pass it to the departure_time parameter. The API's response will now reflect travel times that are far more accurate for that specific departure. This is exactly the kind of detail you need for apps that give customers precise delivery windows. Building requests like this is the foundation for creating truly powerful routing tools.
Making Sense of the API Response
Alright, you've built your request and sent it off. What you get back from the Google API Distance Matrix is a big chunk of JSON. At first glance, it can look a little… dense. But don't worry, it's actually super predictable and structured in a way that’s easy to pull apart once you know what you're looking for.
The whole thing is built around a few key pieces. You’ll immediately spot origin_addresses and destination_addresses at the top. These arrays show you the human-readable addresses Google figured out from your input. It's a great little sanity check to make sure the API interpreted your locations correctly.
But the real meat of the response is in the rows array. Each item in this array corresponds to one of the origins you sent. Inside each of those rows, you'll find an elements array, which holds the travel data from that specific origin to each of your destinations.
Breaking Down the Response Structure
Let's get into the anatomy of the data. The magic happens inside each element within the rows array. This is where you'll find the travel time and distance for a single trip.
Think of it like a spreadsheet. The rows are your, well, rows (origins), and the elements inside each row are the columns (destinations).
Here’s what you need to look for inside each element:
status: This is your go/no-go signal. AnOKstatus means Google found a route and the data is good.duration: An object holding the travel time. You get avalue(in seconds, perfect for calculations) and atextversion (like "1 hour 15 mins", perfect for display).distance: Just like duration, this object has avalue(in meters) and atextstring (like "50.2 km").
This nested structure is brilliant because it guarantees you get a result for every single origin-destination pair you requested, even if a route couldn’t be calculated for some of them.
A Practical Example of Parsing the Data
So, how do you turn this JSON into something useful? Imagine you requested data from one warehouse to three different customer addresses. The API will hand you back one row containing three elements.
Let's say you just want a simple list of delivery estimates. Here's a quick and dirty way you could parse that response using JavaScript.
// Assume 'apiResponse' is the JSON object from Google
const apiResponse = {
    "destination_addresses": ["San Francisco, CA, USA", "San Jose, CA, USA", "Oakland, CA, USA"],
    "origin_addresses": ["1600 Amphitheatre Pkwy, Mountain View, CA 94043, USA"],
    "rows": [
        {
            "elements": [
                {
                    "distance": { "text": "34.8 mi", "value": 55998 },
                    "duration": { "text": "45 mins", "value": 2701 },
                    "status": "OK"
                },
                {
                    "distance": { "text": "11.1 mi", "value": 17887 },
                    "duration": { "text": "18 mins", "value": 1083 },
                    "status": "OK"
                },
                {
                    "distance": { "text": "32.4 mi", "value": 52183 },
                    "duration": { "text": "42 mins", "value": 2503 },
                    "status": "OK"
                }
            ]
        }
    ]
};

const originAddresses = apiResponse.origin_addresses;
const destinationAddresses = apiResponse.destination_addresses;

const deliveryEstimates = [];

// Loop through each origin's row
apiResponse.rows.forEach((row, rowIndex) => {
    const origin = originAddresses[rowIndex];

    // Loop through each destination element in the row
    row.elements.forEach((element, elementIndex) => {
        const destination = destinationAddresses[elementIndex];

        if (element.status === 'OK') {
            deliveryEstimates.push({
                from: origin,
                to: destination,
                travelTime: element.duration.text,
                distance: element.distance.text
            });
        } else {
            console.warn(`Could not calculate route from ${origin} to ${destination}. Status: ${element.status}`);
        }
    });
});

console.log(deliveryEstimates);
See what's happening here? The code walks through the nested arrays, matches up the right addresses, and most importantly, checks the status before adding the data to our results. What you end up with is a clean, simple array of objects—ready to be shown in a UI or passed to another function.
Handling Different Response Statuses
Life isn't always OK. Your code needs to be ready for when Google can't find a route. A solid application checks the status field for each individual element, not just at the top level.
I've seen applications crash or produce wildly incorrect outputs because they didn't account for a non-
OKstatus. Always build in checks for statuses likeZERO_RESULTSto make sure your code doesn't fall over when a route simply doesn't exist.
Here are the common ones you'll run into:
OK: All good. You have valid data.NOT_FOUND: The origin or destination couldn't be geocoded. This is your classic "typo in the address" error.ZERO_RESULTS: A route simply could not be found. Think trying to get driving directions to an island with no bridge.MAX_ELEMENTS_EXCEEDED: You asked for too much at once. The limit is 625 elements (origins × destinations).
By checking for these, you can give your users much better feedback. Instead of a silent failure, you can tell them, "Please check the address provided" when you get a NOT_FOUND status. That kind of proactive error handling is what separates a decent app from a great one.
Managing Costs, Quotas, and Alternatives
Using the Google Distance Matrix API at scale isn't just a technical problem—it's a financial one. As your application grows, so do your API calls. Without a smart strategy, those costs can get out of hand, fast.
The first step is getting your head around Google's pricing model. They bill you based on "elements," where a single element is one origin-destination pair. A simple request with 5 origins and 10 destinations rings up as 50 elements. It sounds small, but this adds up. A maxed-out request of 25 origins and 25 destinations? That’s 625 elements in one go. Run just a few of those per minute, and you'll see a scary number on your next bill.
On top of the cost, you have to play by Google's rules. The default quota is 3,000 elements per minute (EPM). This seems like a lot, but a busy logistics app could easily smash that limit during peak hours. When that happens, your requests get throttled, and your service starts to break.
Strategies for Cost Optimization
Thankfully, there are several battle-tested ways to keep your API usage and costs under control. It all comes down to one simple idea: avoid making redundant or unnecessary calls.
One of the best tools in your arsenal is caching. Think about it. If your app constantly calculates routes between the same locations—like a central warehouse and major retail stores—why ask Google for the same data over and over? Just store the results in a database or a cache like Redis with a reasonable expiration time. The next time that route is needed, you pull it from your cache. It's faster for the user and cheaper for you.
Another powerful technique is request batching. Don't send a flood of tiny requests for individual origin-destination pairs. Instead, group them into bigger, more efficient calls. By consolidating up to 25 origins or destinations into a single request, you dramatically cut down on the number of API calls you make.
Pro Tip: Before you even think about calling the Distance Matrix API, do some pre-filtering. Use a simple and cheap calculation like the Haversine distance ("as the crow flies") to weed out destinations that are obviously too far away. Only send the most promising candidates to Google for the precise, traffic-aware calculations.
A Real-World Scenario: Delivery Startup Woes
Picture a delivery startup that started with just a few drivers. Their app was perfect—it calculated the distance from every driver to a new pickup in real-time. But then they grew. Suddenly, they had 100 drivers.
Now, every new order triggered a request with 100 origins, instantly burning 100 elements. With hundreds of orders pouring in daily, they were torching their budget. This is a classic scaling problem.
The startup had to get smart. They implemented caching for common pickup zones and used pre-filtering to only check the 10 closest drivers instead of the entire fleet. This strategic shift slashed their API costs by over 80% without hurting the quality of their service. To get a better sense of how server architecture can impact application performance, our guide on the top MCP servers for 2024 offers some great insights.
Exploring Alternative Providers
While optimizing your Google API usage is a great first step, sometimes it's just not the right tool for the job, especially if you're dealing with massive volume. It's always a good idea to see what else is out there.
When you start comparing providers, you'll see different trade-offs. Google is a beast when it comes to performance, but the pricing and quotas can be a real headache for large-scale operations. Alternatives like TravelTime and Mapbox bring different models to the table. For instance, a 2023 pricing study showed that TravelTime can offer unlimited elements for a fixed monthly fee and process huge matrices in minutes—a huge potential speed advantage over Google's rate-limited system. If you want to dig into the numbers, you can learn more about the distance matrix API pricing comparison on traveltime.com.
Ultimately, choosing the right API comes down to what you need. For moderate use where real-time traffic is a must, Google is excellent. But if you're running massive, daily matrix calculations, looking at alternatives could save you a ton of money and give you a serious performance boost.
Look, the old Distance Matrix API has been a trusty workhorse for years, but Google's routing tech is moving on. The future—and where you need to be heading—is the Routes API. This isn't just about keeping up with the times; it's about getting your hands on some seriously powerful new features.
The Routes API rolls routing and distance matrix capabilities into one modern, streamlined service. This upgrade brings some major perks the old API just can't match, giving you richer data and lower latency, which is a lifesaver for more complex applications. For instance, the new API can spit out detailed toll cost data and handle beefy routes with up to 25 waypoints.
What You Gain by Making the Switch
Moving over to the Routes API gives you immediate, tangible benefits for your projects. We're talking about real-world advantages you can start using right away.
- Toll Information: Finally, you can programmatically get toll costs for any given route. This is a game-changer for anyone building logistics or transportation apps.
- Eco-Friendly Routing: You can now find the most fuel-efficient routes, and even tailor them based on the vehicle's engine type.
- Smarter Traffic Predictions: The new API uses more sophisticated traffic modeling, which means you get far more accurate ETAs.
- Two-Wheeler Routes: It also adds native support for motorcycle and scooter travel modes, opening up new possibilities.
This isn't just a friendly suggestion—it's a necessary move for the long-term health of your application. Getting on board with the Routes API now means your app stays compatible and you're building with the best tools Google has to offer.
Let's be clear: Google has already announced they're pulling the plug on the legacy Distance Matrix API, with the shutdown slated for early 2025. Migrating is no longer optional; it's a critical next step. You can read up on the specifics of the Google Maps API changes for 2025 to get your applications ready. Making this move now not only future-proofs your work but also keeps your stack aligned with the best AI developer tools and MCP servers for 2024.
Common Questions About the API

When you first start working with the Google Distance Matrix API, you'll inevitably run into a few questions that pop up time and again. Getting these sorted out early on can save you a lot of headaches and help you sidestep the usual traps.
One of the first things developers ask about is the cost. It's not as simple as paying per request. Google bills based on "elements," where a single element is one origin-destination pair. So, if your request has 2 origins and 10 destinations, you're actually getting billed for 20 elements. Nail this down, and you’ll keep your budget in check.
API limits are another big one. You can only send up to 625 elements in a single request (think a 25 x 25 matrix). Anything more than that and you'll get an error. For heavy-duty applications, this means you absolutely have to build logic to batch your bigger jobs into smaller, compliant chunks.
Can I Get Route Polylines?
This is a critical distinction: the Distance Matrix API is built for speed and efficiency, which means it does not give you the actual route geometry or polylines. Its one job is to calculate travel time and distance, and it does that very well.
The API tells you what (the time and distance) but not how (the specific path). If you need to actually draw the route on a map, that requires a separate call to the Directions API or the newer Compute Routes endpoint.
Google designed it this way on purpose. Sending detailed route geometry for hundreds of origin-destination pairs at once would be incredibly slow and data-heavy. By separating the two, the distance calculations stay lightweight and fast.
How Does It Handle Traffic?
The API is definitely traffic-aware, but you have to tell it to be. For it to factor in traffic, you must include the departure_time parameter in your request.
If you set this to a time in the future, the API will give you a predictive travel time based on historical traffic data for that specific day and time. For example, setting departure_time to 8 AM next Tuesday will give you an ETA that accounts for typical morning rush hour. If you leave it out, you'll just get a calculation based on current traffic, which isn't all that helpful if you're planning ahead.
At FindMCPServers, our goal is to give you the resources and tools you need to build more capable AI applications. Check out our platform to find MCP servers that help your models connect seamlessly with external systems and APIs. Visit us at https://www.findmcpservers.com to see how it works.