So, what exactly are Grafana data sources? Think of them as the pipelines that pump raw information from all your different databases, logging systems, and cloud services directly into your Grafana dashboards. They’re the essential bridge that makes your visualizations come to life.
Without them, you can’t monitor anything—from server metrics and application logs to critical business KPIs. Data sources make it all possible in one central spot.
Why Mastering Data Sources Is Your Grafana Superpower
Let's be real: a Grafana dashboard without a data source is just a collection of empty, useless panels. The magic doesn't happen until you plug it into the right information streams.
Getting good at configuring Grafana data sources is the one foundational skill that takes your setup from a basic monitoring tool and turns it into a serious, centralized observability engine.
This goes way beyond just hooking up a database. It's about weaving a cohesive story about your system's health. For instance, a smart data source strategy lets you correlate an application performance metric from Prometheus with a specific error log from Loki, all with a single click. That’s the kind of integration that separates spotting a critical issue in seconds from spending hours digging through a dozen different systems.
The Foundation of Effective Observability
When you put some thought into your data source strategy, you unlock a few massive advantages that directly boost your team's efficiency. By connecting all those different data streams, you build a single, holistic view of your entire tech stack.
- Unified Monitoring: Pull metrics, logs, and traces from totally different systems into one dashboard. Imagine seeing your AWS CloudWatch billing alarms right next to your Kubernetes pod performance graphs.
- Faster Incident Response: You can instantly connect the dots between seemingly unrelated events. When a CPU spike in Prometheus lines up perfectly with a flood of error messages in Elasticsearch, you’ve found your root cause in record time.
- Proactive Insights: Stop just reacting to alerts. By visualizing trends from multiple= sources over time, you can spot potential bottlenecks or capacity problems long before they ever impact your users.
A dashboard is only as good as the data feeding it. Your ability to configure, manage, and combine various data sources is what elevates Grafana from a visualization tool to an indispensable command center for your entire stack.
There's a reason Grafana is so popular—its flexibility is off the charts. It’s used by over 48,500 companies around the world, which says a lot about its powerful and extensible design.
It comes packed with built-in connectors for heavy hitters like Prometheus, InfluxDB, and Loki, not to mention all the major cloud monitoring services. You can get more details on Grafana's widespread use on theirstack.com. This incredible adaptability means you can connect to just about any data you could possibly want to monitor.
Alright, let's get into the fun part—connecting your data. Theory is great, but the real magic happens when you start pulling your essential Grafana data sources into the mix. We'll kick things off with the foundational tools most of us in the observability space rely on daily.
This isn't just about following a wizard. It's about understanding why you're choosing certain settings, so you can build an interconnected, rock-solid view of your systems right from day one.
Integrating Prometheus for Core Metrics
For many, Prometheus is the first stop, and for good reason. It's the de facto standard for grabbing time-series metrics from your infrastructure and applications. Let's say you've just spun up a new microservice; you'll want to see its HTTP request latency and error rates ASAP. This is where Prometheus shines.
First, you'll head over to the "Data sources" section in Grafana's configuration panel. Find Prometheus in the list, click it, and you'll land on the configuration screen.
The most important field here is the HTTP URL. This is simply the address your Grafana instance uses to talk to your Prometheus server. If they're running on the same network, it could be as straightforward as http://prometheus-server:9090.
A couple of key settings to pay attention to:
- Access Mode: You’ll want to stick with Server (default) almost every time. This ensures all communication happens on the back end between Grafana and Prometheus, which is much safer than exposing your Prometheus instance to a user's browser.
- Authentication: If you've locked down your Prometheus endpoint, this is where you'll set up the credentials. Basic authentication (a simple username and password) is a common choice, but you can also use custom TLS certificates for a more hardened connection.
Once you’ve filled everything out, hit "Save & test." If you get that satisfying green checkmark, you're golden. If not, it's usually a firewall rule or a simple typo in the URL.
Here’s a look at the "Add data source" screen, which is your central hub for connecting not just Prometheus and Loki, but dozens of other tools.
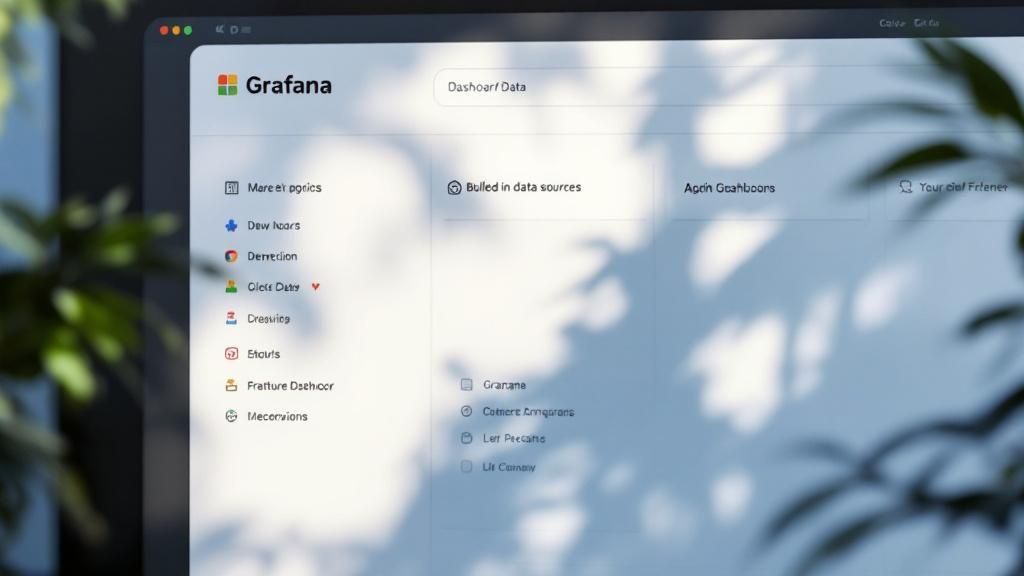
As you can see, Grafana makes it pretty easy to find and select what you need to get started.
Adding Loki for Correlated Logs
Metrics tell you what is happening, but logs are what tell you why. That's where Loki comes in. Connecting Loki is a game-changer because it lets you jump directly from a spike on a graph (like a sudden burst of HTTP 500 errors) to the exact log lines from that moment. This kind of tight correlation is a massive shortcut when you're trying to put out a fire.
The setup process will feel familiar. Just select Loki from the list of Grafana data sources and plug in its HTTP URL, which is often something like http://loki-server:3100.
Pro Tip: Don't skip this next part. The real power move is linking Prometheus and Loki together. In your Prometheus data source settings, look for a section called "Derived Fields." This is where you can configure a link that teaches Grafana how to build a Loki query using the labels from a Prometheus metric. It's what powers that amazing "split view" where you see your metrics and corresponding logs side-by-side.
Tapping into Cloud Services with AWS CloudWatch
Finally, let's plug into a cloud provider. For this guide, we'll use AWS CloudWatch, which is indispensable for monitoring any AWS service, from EC2 instances to Lambda functions and RDS databases.
Getting CloudWatch connected involves authenticating with AWS, so it requires a bit more care than just punching in a URL.
- Authentication Method: The best and most secure way to do this is with an IAM Role. You'll set up a role in your AWS account that gives your Grafana server (whether it's on an EC2 instance or an EKS pod) the
cloudwatch:ListMetricsandcloudwatch:GetMetricDatapermissions it needs. This is far better than hardcoding access keys into your configuration. - Default Region: Be sure to specify the main AWS region where your resources live, like
us-east-1. This keeps your queries fast and focused. - Namespaces: You can also pre-filter the CloudWatch namespaces you care about, like
AWS/EC2orAWS/Lambda. This helps keep the query builder from getting cluttered.
A very common mistake here is getting the IAM permissions wrong, which results in a "permission denied" error when you test the connection. Always double-check that the role attached to your Grafana server has the right policies.
Once you have these three core Grafana data sources hooked up, you've officially laid the groundwork for a powerful, holistic observability practice.
Choosing the Right Data Source for the Job
With so many powerful Grafana data sources out there, picking the right one can feel a bit overwhelming. But here’s the secret: the best choice always comes down to matching the tool to the job at hand.
Are you tracking real-time server metrics, digging through application logs, or keeping an eye on an IoT sensor data? Each of these scenarios has an ideal data source designed specifically for that purpose. Let's break down the most common contenders—Prometheus, InfluxDB, Elasticsearch, and Loki—to see where each one really shines.
Getting a handle on their core differences is the first step toward building a monitoring setup that's not just efficient, but genuinely insightful.
Metrics: The Pull vs. Push Debate with Prometheus and InfluxDB
When it comes to metrics, your first big decision is usually between a "pull" or "push" model.
Prometheus is the undisputed king of service monitoring. It works on a pull-based model, which means it actively reaches out and scrapes metrics from your applications and infrastructure at regular intervals. This approach is perfect for tracking the health of known targets you control, like microservices, Kubernetes clusters, or a fleet of virtual machines.
- Practical Example: Monitoring the CPU usage of your web servers, tracking the request latency of an API (
http_request_duration_seconds), or counting active database connections. Its query language, PromQL, is exceptionally good at aggregations and calculations over time.
InfluxDB, on the other hand, uses a push-based model. With this setup, your applications and devices are responsible for sending data to InfluxDB as events happen. This makes it a fantastic fit for high-volume, event-driven data—think sensor readings from thousands of IoT devices or custom application events that fire off irregularly.
- Practical Example: Recording temperature data from factory equipment every second, logging real-time stock price changes, or capturing player actions in an online game (
player_score,player=user123 score=50).
Your choice between a pull or push model fundamentally shapes your monitoring architecture. Pull is great for reliable, scheduled checks on services you control, while push is necessary for capturing data from ephemeral or client-side sources.
Logs: Deep Search vs. Lean Simplicity with Elasticsearch and Loki
For logs, the decision often comes down to a trade-off between power and simplicity, usually pitting Elasticsearch against Loki.
Elasticsearch is a search and analytics powerhouse. It works by indexing the full content of your logs, which makes it incredibly powerful for deep analysis and complex, full-text searches. If you need to slice and dice your log data in intricate ways, this is your tool.
- Practical Example: You need to hunt for a specific error message (
"payment transaction failed") across all your microservices, analyze user behavior by parsing structured JSON log data, or build security dashboards that scan for specific threat patterns like multiple= failed logins.
Loki takes a completely different, much more lightweight approach. It was designed by Grafana Labs to be simpler and more cost-effective. Instead of indexing every single word in your log messages, Loki only indexes a small set of labels (like app="api" or cluster="prod"), which should feel very familiar if you've used Prometheus.
- Practical Example: Your main goal is to correlate logs with metrics. You see a CPU spike in Prometheus for a specific container, and you want to see all the logs from only that container from the last 5 minutes. Loki makes this incredibly fast and efficient without the overhead of full-text indexing.
This infographic gives a great visual of how adding a new plugin—like a data source—is a core part of expanding what Grafana can do.
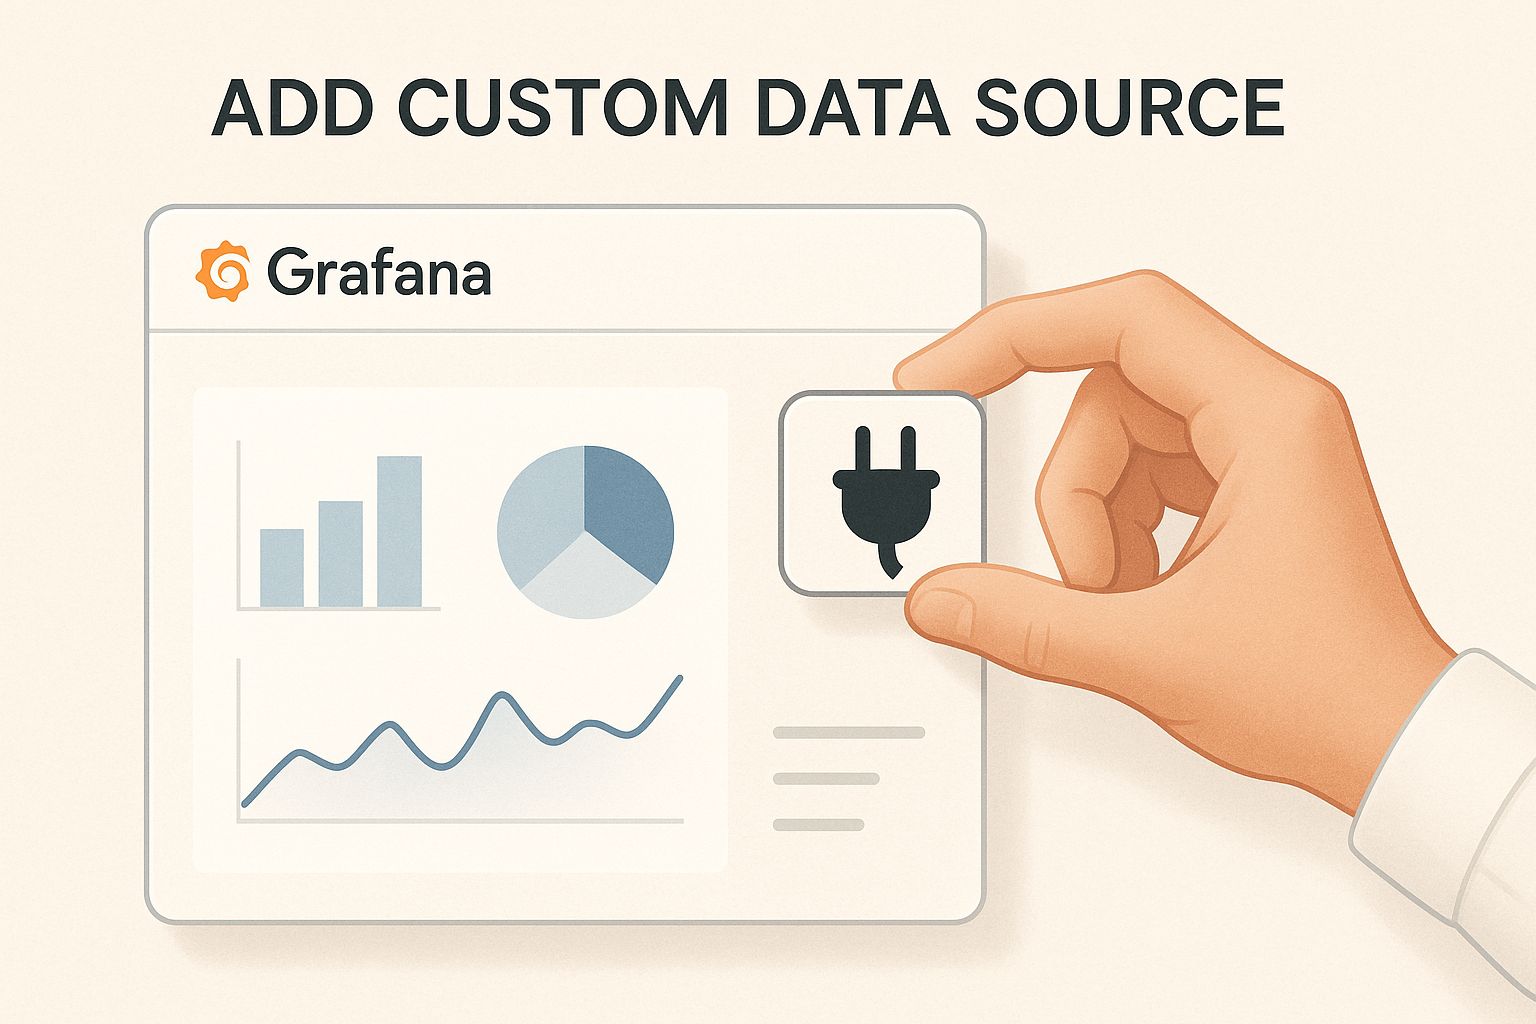
It really highlights how connecting the right data source is a direct, hands-on action that immediately unlocks new monitoring potential. As you connect more specialized systems, you might find it interesting to see how frameworks like the Model Context Protocol are changing how different tools interact with diverse data endpoints.
Choosing the Right Data Source for Your Needs
To make the decision even clearer, here’s a quick comparison table to help you select the best option based on what you're trying to accomplish.
| Data Source | Primary Use Case | Query Language | Data Model | Best For |
|---|---|---|---|---|
| Prometheus | Service & Infrastructure Metrics | PromQL | Time-Series | Monitoring known, stateful targets like servers and services with scheduled scrapes. |
| InfluxDB | High-Volume Event & Sensor Data | Flux / InfluxQL | Time-Series | Capturing irregular, high-cardinality data from IoT devices or custom applications. |
| Elasticsearch | Deep Log Analysis & Search | Lucene Query Syntax | Document Store | Full-text searching, complex log filtering, and building security analytics dashboards. |
| Loki | Log Aggregation & Correlation | LogQL | Log Streams | Quickly correlating logs with metrics from Prometheus without indexing full log content. |
Ultimately, there's no single "best" data source—only the best one for your specific needs. By understanding these fundamental differences, you can confidently choose the right tools to make sure your Grafana dashboards are not only beautiful but also packed with actionable insights.
Building a Unified Observability Dashboard
Connecting individual Grafana data sources is a great first step, but the real magic happens when you start breaking down data silos. Your metrics, logs, and traces shouldn't live on separate islands. Real insight comes from seeing the complete picture in one place, correlating different signals to understand the full story of what's happening in your system.
This isn't just about cramming more graphs onto a screen; it's a strategic move to slash your incident response time. Imagine seeing an application performance metric from Prometheus dip at the exact moment error logs from Loki spike—all within a single panel. You’ve just connected the dots instantly. This unified view transforms your dashboard from a simple reporting tool into a diagnostic command center.
The trend toward this blended approach is undeniable. A 2023 observability survey from Grafana Labs found that 68% of active users have configured at least four different data sources. What's even more telling is that 28% connect more than ten simultaneously. The payoff is huge, with 83% of companies with centralized observability reporting they've saved time or cut costs. You can dig deeper into these observability trends and their impact on their blog.
Combining Data Sources in a Single Panel
Grafana has a fantastic built-in feature for this called the Mixed data source. Think of it as a special meta-data source that lets you pull queries from completely different systems and display the results together in one visualization. This is where you can start telling some really interesting stories with your data.
Let's walk through a classic, real-world example: overlaying application performance metrics with contextual error logs.
- Query A (Prometheus): First, you'll query Prometheus for a key metric. A good one is the rate of HTTP 500 errors for a specific service. Your PromQL query might look something like this:
rate(http_requests_total{job="api-service", status="500"}[5m]). - Query B (Loki): Now, you add a second query. This time, you select your Loki data source from the dropdown. You’ll write a LogQL query to find all log lines from that same service that contain "error" or "exception," like this:
{job="api-service"} |= "error".
When you run both, Grafana intelligently overlays the results. You'll get your metric graph from Prometheus, but now you’ll also see annotations or markers for every single time a relevant error was logged in Loki. It's an incredibly powerful way to spot correlations.
Building Dynamic Dashboards with Variables
To take your unified dashboards from good to great, you need to use variables. Variables allow you to create interactive dropdown menus at the top of your dashboard, which can then dynamically filter the data shown across all your panels.
Instead of hardcoding a service name like "api-service" in every query, you create a variable that pulls a list of available services from one of your Grafana data sources.
For example, you could create a
$servicevariable that runs a Prometheus query likelabel_values(up, job). This will automatically populate a dropdown menu with every job that Prometheus is currently scraping.
Now, anyone on your team can select a service from that menu, and every single panel—whether it's querying Prometheus, Loki, or even Elasticsearch—instantly updates to show data for only that service. This simple trick turns a one-off dashboard into a reusable, consistent observability view for your entire infrastructure. It's a much more efficient way to empower your team to investigate issues without needing to write custom queries from scratch every single time.
Advanced Configuration and Security Practices
So, you've connected your key Grafana data sources. That’s a great first step. Now, it's time to graduate from a basic setup to a professional, enterprise-grade observability platform. This is where we move beyond clicking around in the UI and start treating our configurations as code, all while locking down access to keep sensitive data safe.
Getting these advanced practices right is what makes a Grafana instance truly powerful, maintainable, and secure as your team and infrastructure inevitably grow. Let's dig into the techniques that will make your setup both resilient and efficient.
Provisioning Data Sources as Code
Manually adding data sources through the UI is fine when you're just getting started, but it simply doesn't scale. What happens when you need to spin up a new environment for staging or a developer needs a local replica? You need provisioning.
This practice involves defining your data sources in simple YAML files. When Grafana starts up, it automatically reads these files and configures itself. It's a game-changer for any team using a CI/CD pipeline, as it guarantees every Grafana instance is configured identically. No more "it works on my machine" headaches.
Here’s a practical example of a datasource.yml file for provisioning a Prometheus instance:
apiVersion: 1

datasources:
  - name: Prometheus-Prod
    type: prometheus
    access: proxy
    url: http://prometheus-server:9090
    isDefault: true
    jsonData:
      httpMethod: POST
    secureJsonData:
      basicAuthPassword: "$PROMETHEUS_PASSWORD"
The beauty here is that your configuration is now clean, version-controlled, and auditable. Look closely at secureJsonData—we're using an environment variable for the password. This is a critical security practice that prevents you from accidentally checking secrets into a Git repository.
And for those of you wrangling a diverse set of data endpoints, our complete guide to the Model Context Protocol (MCP) might offer some insights into how modern systems are standardizing these kinds of interactions.
Hardening Security with Access Modes and Permissions
Securing your Grafana data sources is non-negotiable, especially when you're pointing them at production systems. Grafana gives you a few powerful tools to lock down connections and control exactly who can see what.
Your first line of defense is the Access Mode. You should almost always choose Server (Proxy) mode over Browser (Direct). When you use Server mode, the Grafana backend makes all the requests to the data source on behalf of the user. This simple switch hides the data source URL and its credentials from the user's browser, closing a major potential security gap.
Beyond that, you can get much more granular with Data Source Permissions. This feature, available in Grafana Enterprise and Grafana Cloud, lets you restrict query access to specific users or teams.
Here's a practical example of how that might look:
- Engineering Team: Grant them full query access to both production and staging data sources, like Prometheus and Loki.
- Business Analyst Team: Give them read-only access to a specific PostgreSQL database containing business metrics, but completely block them from seeing infrastructure logs in Loki.
By combining provisioning as code with strict access controls, you build a secure, auditable, and easily replicated observability environment. This is the foundation you need to scale your monitoring practices responsibly.
The push for robust observability isn't just a trend; it's a massive market shift. The industry is projected to jump from $38 billion in 2021 to $53 billion by 2025, a testament to the growing complexity of our IT systems. It’s why giants like PayPal and Salesforce have leaned so heavily on platforms like Grafana to keep their stacks in check. You can read more about Grafana's role in the expanding observability market to see how it's being adopted by industry leaders.
Common Questions About Grafana Data Sources
Even with a perfect setup, you're bound to run into questions or a few roadblocks when managing Grafana data sources. It's just part of the process. Let's walk through some of the most common issues people face after getting everything configured and give you some clear, practical answers to get you moving again.
How Do I Troubleshoot a Data Source Connection Error
Seeing a "Data source connection error" is almost a rite of passage. Don't worry, it's usually something simple.
First thing's first: check your network. Can the Grafana server actually talk to your data source? A quick curl or ping from the Grafana server's command line will tell you if you have a basic connectivity problem.
Practical Example: If your Grafana is in a Docker container and Prometheus is on the host, you can't use localhost. Try host.docker.internal or the host's IP address. If both are on the same Docker network, use the service name (e.g., http://prometheus:9090).
If the network is solid, your next stop should be the credentials. A tiny typo in a password or an expired API key is the culprit more often than not. Finally, if you're still stuck, dive into the Grafana server logs. They are incredibly helpful and often contain a detailed error message that points you straight to the root cause, whether it's a pesky firewall rule or a permissions issue on the database side.
Can I Share a Single Data Source Across Multiple Organizations
The short answer is no. In Grafana, data sources are strictly tied to a single organization. This isn't an oversight; it's a deliberate design choice meant to create a strong security boundary between different teams or tenants using the same Grafana instance.
If you need that same Prometheus instance available in another organization, you’ll have to add and configure it again from scratch within that new org.
Think of this separation as a core security feature. It makes it impossible for users in Organization A to access, or even see, the data sources configured for Organization B. This holds true even if both data sources point to the exact same underlying database.
What Is the Difference Between Server and Browser Access Mode
Choosing the right access mode is a critical decision that impacts both security and performance. Let's break it down.
- Server Mode (Default): This is the one you should probably be using. The Grafana backend handles all the requests to the data source. It’s the most secure option by far because it keeps the data source URL and your credentials completely hidden= from the user's browser.
- Browser Mode (Direct): With this mode, the user's web browser connects directly to the data source. While it can sometimes offer a slight performance boost, it exposes the data source URL. It also often requires you to wrestle with complex Cross-Origin Resource Sharing (CORS) configurations on the data source side.
For the vast majority of use cases, sticking with the default Server mode is the best practice. As AI integrations become more popular, getting these connection patterns right is essential. For a deeper look at this, check out our guide on the best AI developer tools and MCP servers for 2024.
At FindMCPServers, we live and breathe this stuff. We're all about helping you connect and manage complex data interactions for your AI applications. Explore our platform to find MCP servers designed to simplify how your models communicate with any data source. Visit us at https://www.findmcpservers.com to see how we can help.